

How to make a photo mosaic
A photo mosaic is one big picture built from hundreds of small ones. Here is how to make a good one from the photos you already have — in a few minutes, in your browser.
Free to create and preview. You only pay to download the full-resolution file.
You need two things: one main photo (the picture the mosaic will show from a distance) and a collection of smaller photos (the tiles). Imagia matches every tile to the part of the picture it fits best by colour, brightness and detail, so you can focus on choosing the photos.
1. Pick the main photo
The main photo decides what people see when they stand back, so choose one that reads clearly even when it is small: a close-up face, a couple, a pet, a landmark. Good light and a clear difference between the subject and the background matter more than resolution.
Busy group shots and full-length photos lose their faces once they are rebuilt from tiles. If you have the choice, crop in close — you can crop right in the studio before you start.
2. Collect the tile photos
Around 100 photos is enough for a recognisable mosaic; 300 to 500 gives the most detail and the least repetition. Phone photos are perfect. Variety helps more than quantity: light and dark photos, different colours, close-ups and wide shots give the matcher more to work with.
Photos scattered across other people's phones? Send everyone one link and they can add theirs without an account — see our group photo mosaic guide.
3. Choose a layout
Square, portrait and landscape grids give the classic photo-mosaic look. Mixed-size layouts let important areas like faces get more, smaller tiles while calm areas like sky get bigger ones. Hexagons and collage layouts are there when you want something less expected.
Portrait and landscape grids only use photos of their own shape, so no photo is cropped sideways. If you want every photo to appear at most once, switch on Unique in the settings — it needs at least as many usable photos as there are cells.
4. Tune the detail and the blend
Detail sets how many tiles the picture is cut into: more tiles show more of the main photo, fewer tiles show more of each individual photo. A light colour blend with the main photo makes the big picture pop from a distance while every tile stays recognisable up close.
Every change previews live, and you can zoom in with the loupe to check that the tiles still look like photos.
5. Download and print it big
Photo mosaics are made to be seen at two distances, so print them large — 50 × 70 cm and up is where people start leaning in to find themselves. The high-resolution download is print-ready at up to 20,000 pixels wide and comes with a free animated video of the mosaic assembling.
Made to be displayed
A finished mosaic is a real piece of art — the centerpiece of a lobby, an unforgettable gift, or a mural people gather around.
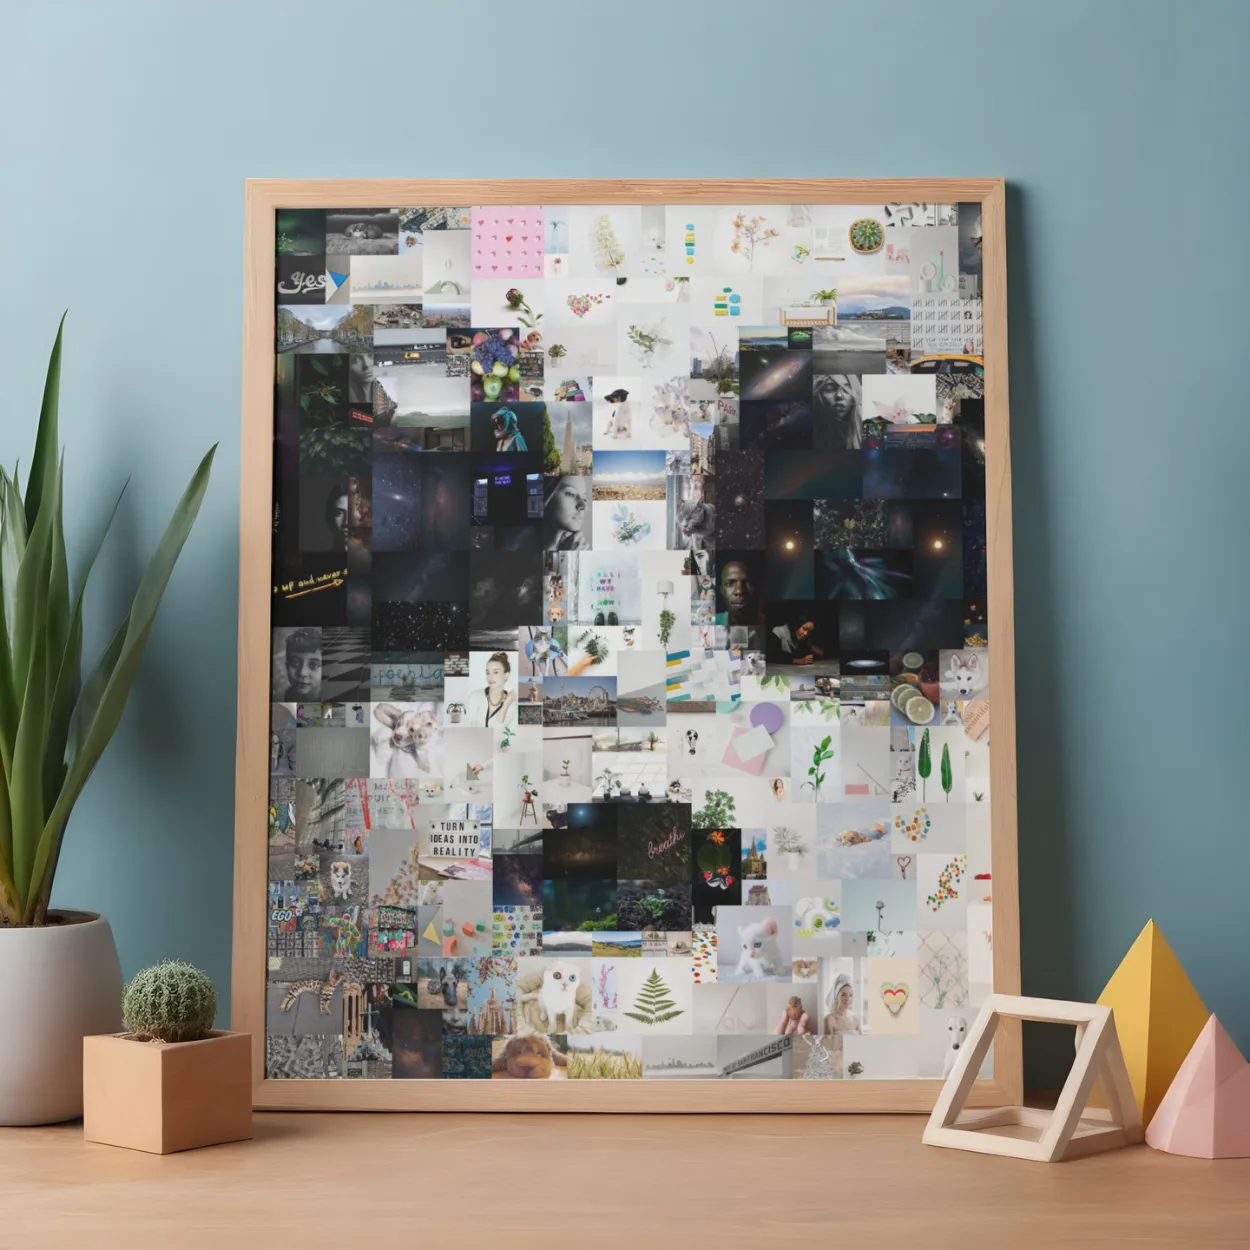
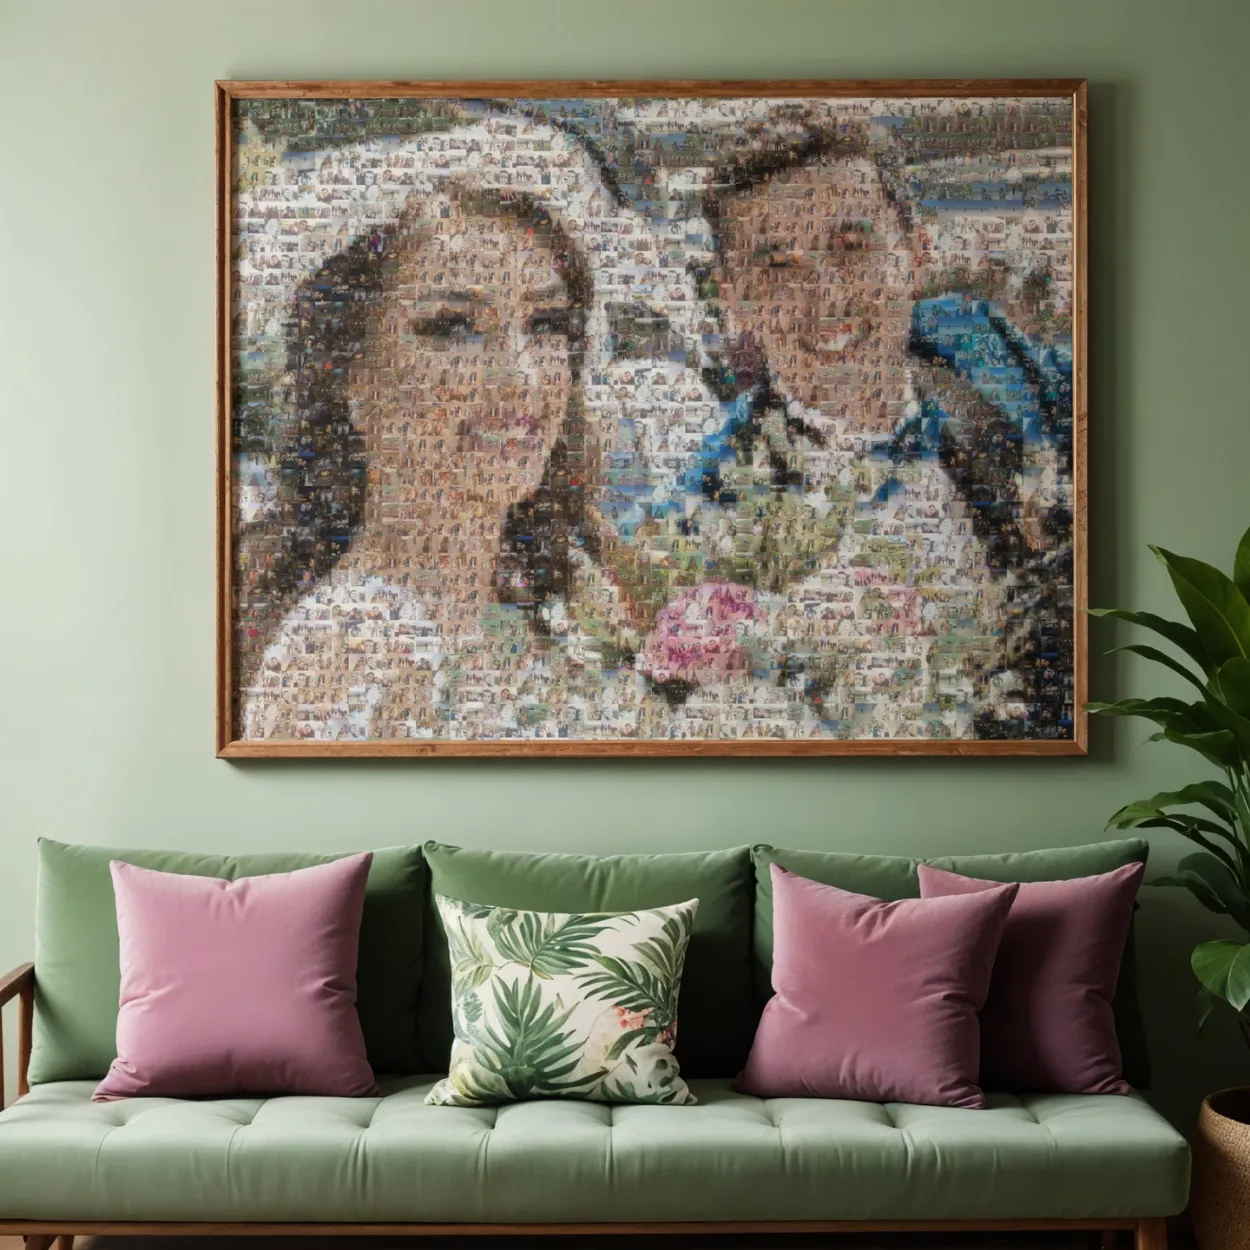
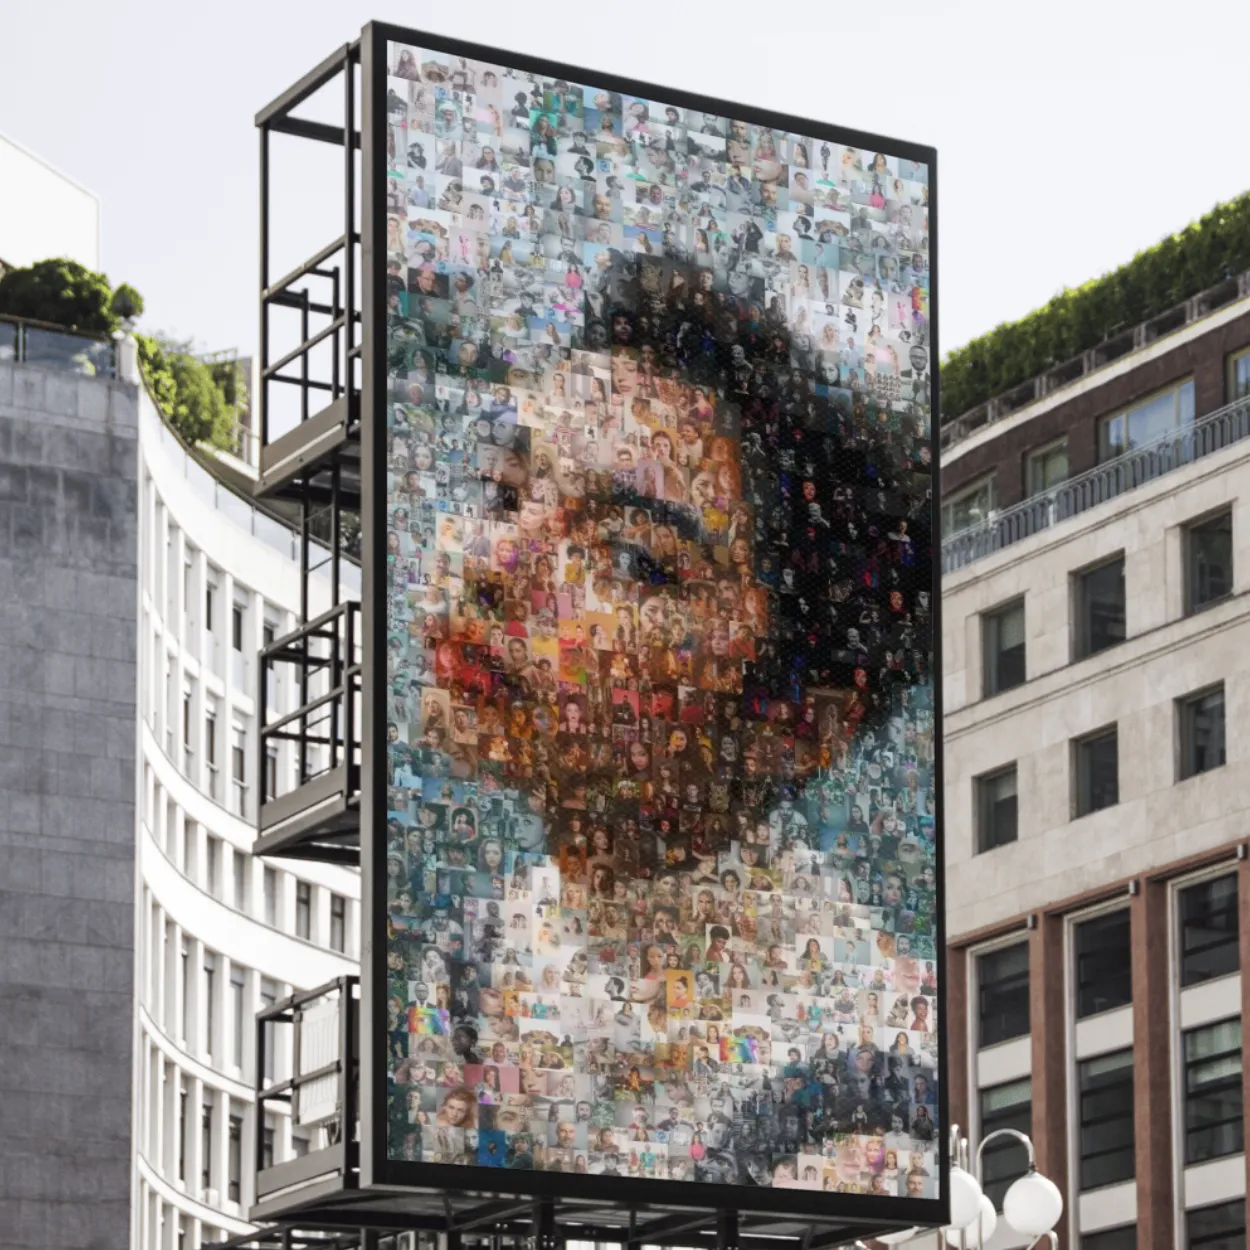
Every mosaic exports in print-ready high resolution, at any size.
Common questions
How many photos do you need to make a photo mosaic?
About 100 tile photos is enough for a good result, and 300–500 is ideal. Fewer photos still work — the mosaic simply repeats them more often.
Can I make a photo mosaic for free?
Yes. Creating and previewing mosaics is free — all you need is a free account. You only pay when you download the full-resolution file.
What is the best photo for the main picture?
A clear, well-lit close-up with strong contrast between the subject and the background. Faces should fill a good part of the frame.
Can I make a photo mosaic on my phone?
Yes — the studio works in the mobile browser, and there are Imagia apps for iPhone and Android.
What size should I print a photo mosaic?
As large as your wall allows. 50 × 70 cm is a good minimum; larger prints show the individual photos much better.